Zapier Integration
You can now integrate thousands of online apps with our platform. In the example below, we’ll show you how to create a basic CRM integration with our platform via Zapier.
Basic Setup & CRM Example
To set up a basic Zapier integration with our platform, do the following:
Step 1: Account, Trigger & Event Setup
1. Create a Zapier account. You can do that here: https://zapier.com/sign-up. When this is done, access your account and start creating a Zap.

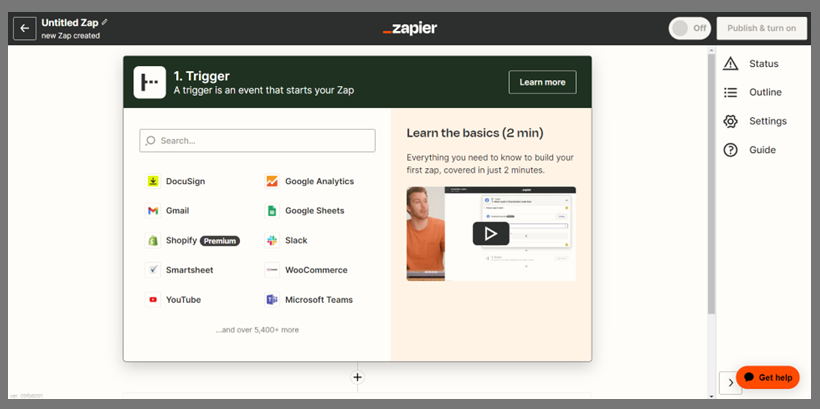
2. The first step in creating a Zap is selecting a trigger. This is the event that will set off your new Zap. To do this, select one of the available online apps you’d like to trigger from. In this example we’ll simply refer to the app you choose as CRM App, and our platform as Platform.
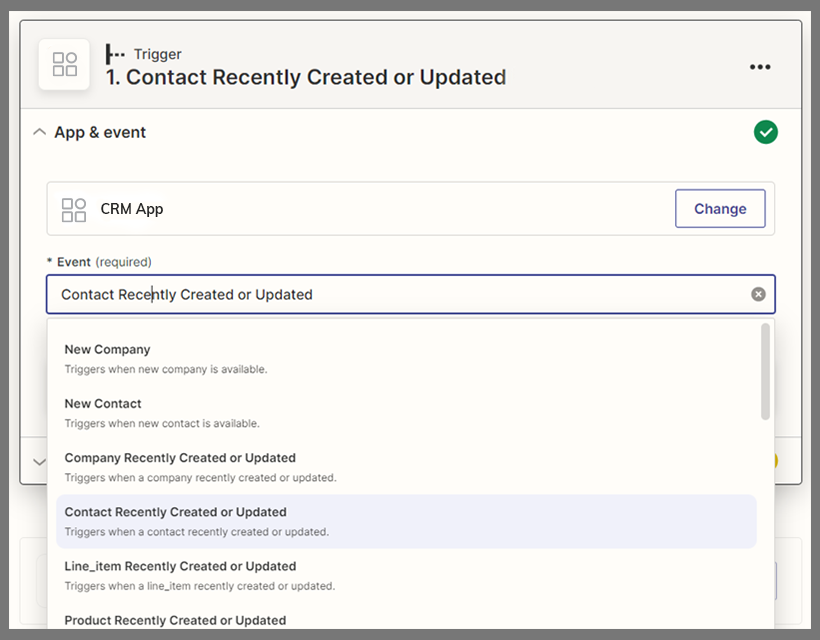
3. Next, select the event. This is the action that will be taken when your initial trigger is set off.
Step 2: Confirm Your App Account
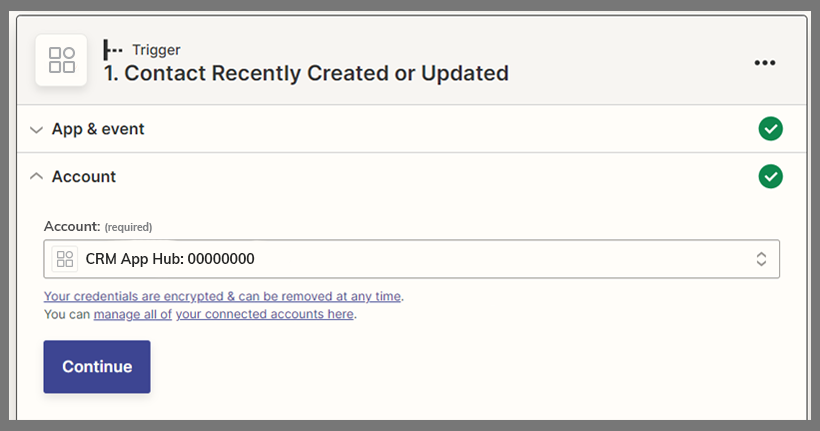
1. Once you’ve selected the event, Zapier will prompt you to log into your CRM App account for confirmation. After this, your CRM App will be able to sync automatically with Zapier.
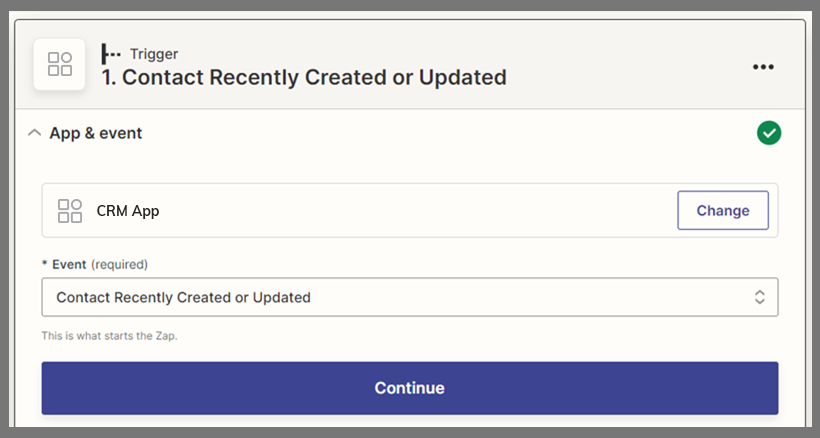
A trigger will be required during setup, however, once you set up your event, it’ll auto-sync the result fields you see below. At this point, you may add additional properties if required.
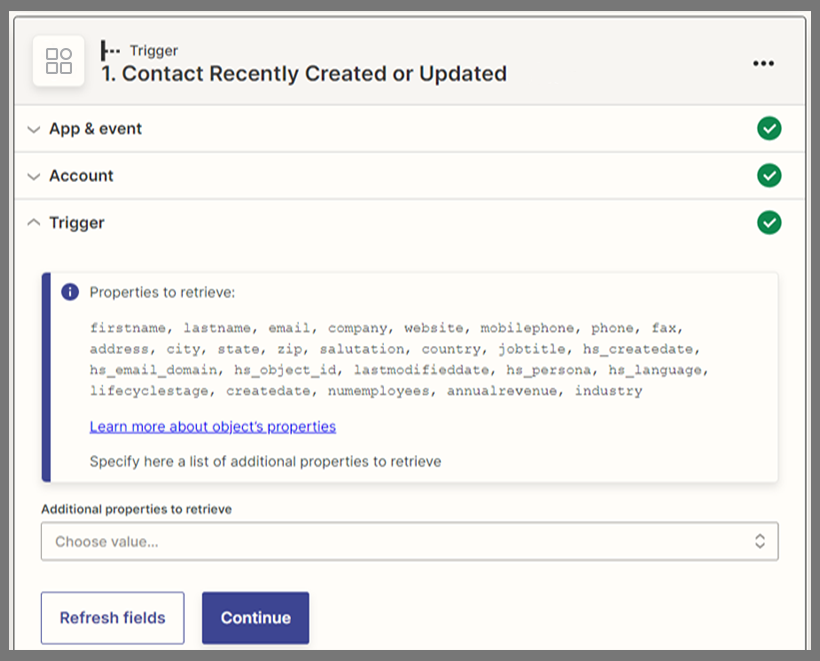
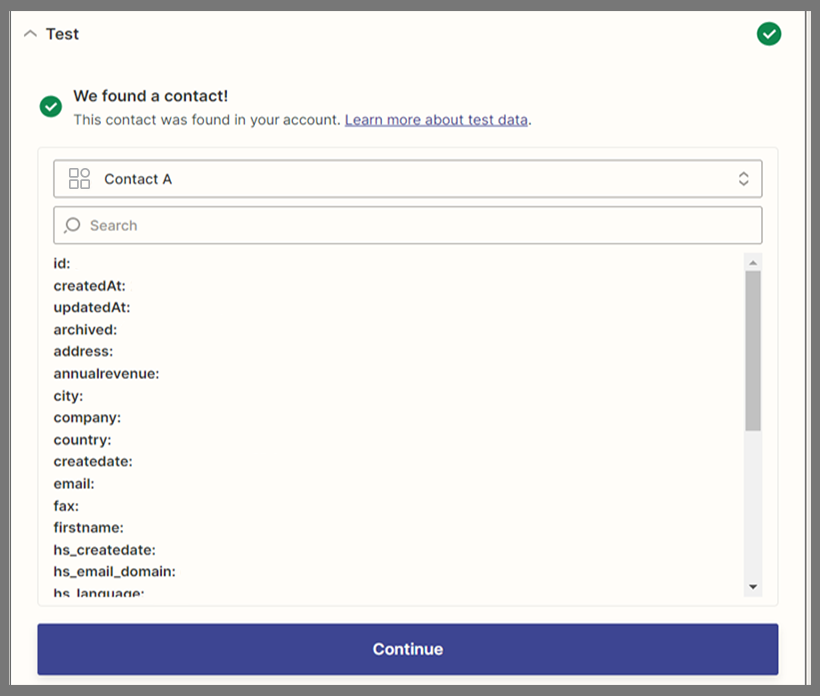
2. Next, click Continue. This will prompt you to run a test. Depending on how frequently you add data, this test should pick a contact within seconds (as shown in the below image).
Step 3: Sync Your Platform Account
1. Set up the next Action by selecting our Platform from the dropdown. Next, choose an event. In this example, the system creates a contact in our Platform from an action taken on the CRM App.
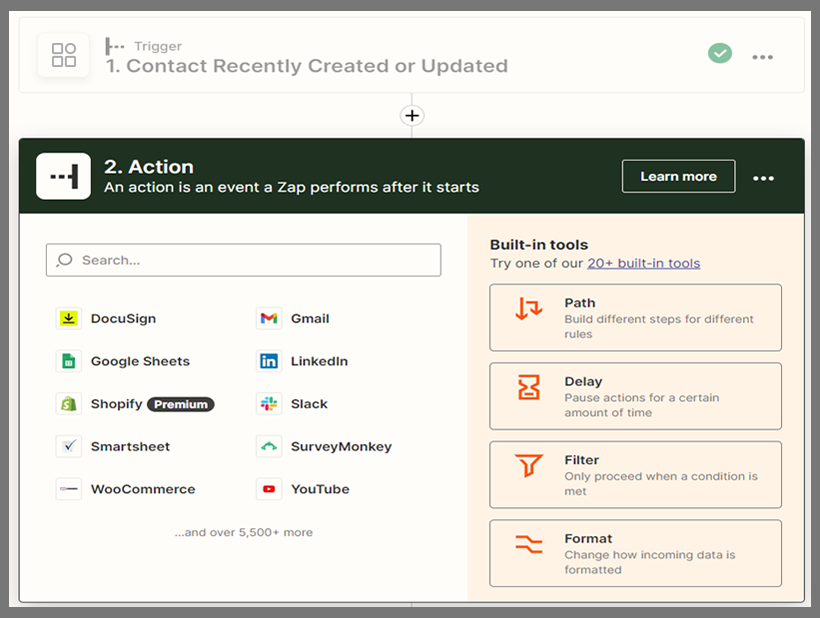
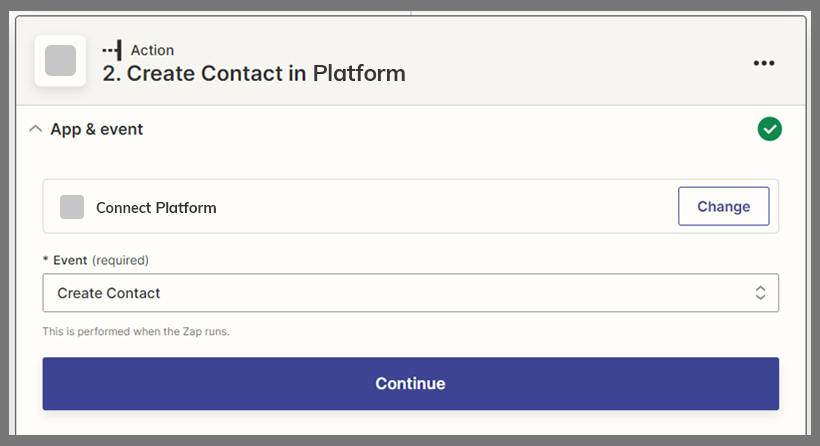
After this, you’ll be prompted to sign into your Platform account, enabling Zapier to automatically sync with our Platform.
2. Once signed in, you’ll be required to add in your Username, API Key and Application URL (this is the URL you use to log into the Platform). Take care to omit “https://” from this URL.
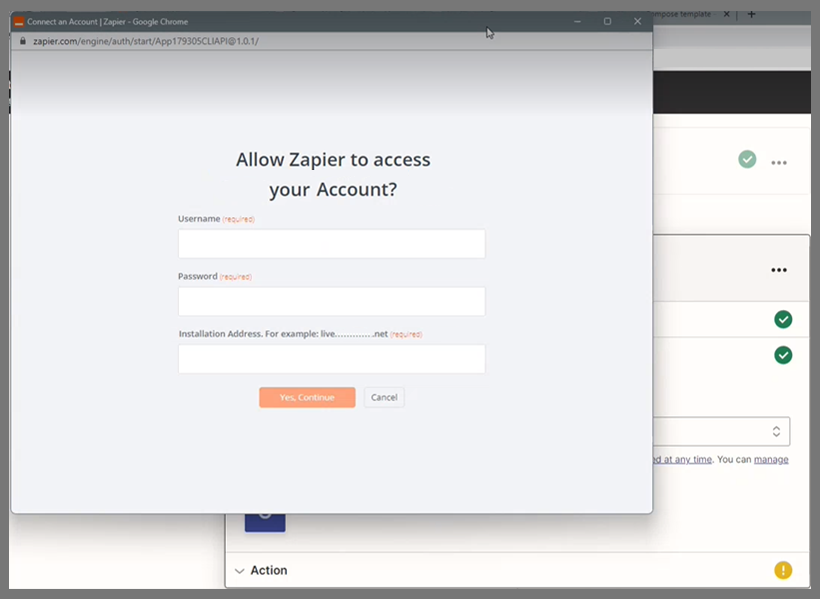
3. Input your credentials and press the “Yes. Continue” button. Zapier will send you back to the below screen.
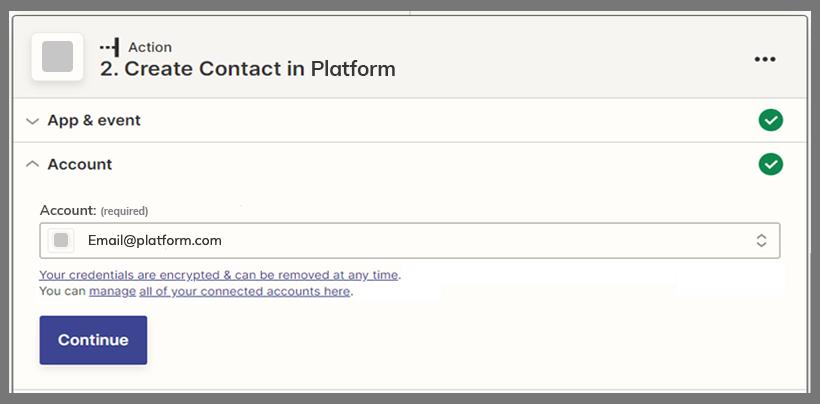
4. Select your List from the drop down and map your Email Address, First Name, Last Name and Mobile Number. You can also map other fields listed below.
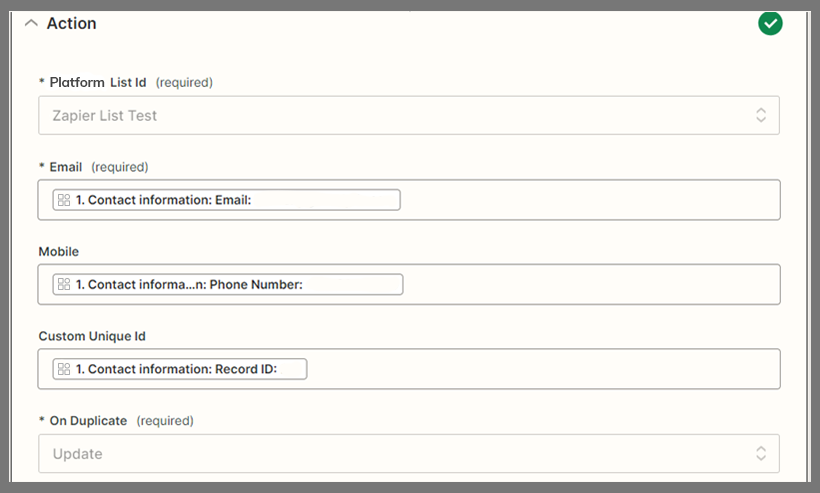
Step 4: Test, Sync & Publish Your Zap
1. Now, test the Zap against a set of data to make sure the event pulls through to the Platform, creating a new contact.

Important:
- You won’t be able to use generic and/or placeholder email addresses like “@test.com” or “test.co.za” for testing.
- Before you run the test, ensure that your Zap is complete. Consider running the test immediately after the Zap becomes active.
- You can run a test with new data as the test won’t pick up old data at this stage.
2. Once your test is successful, you’ll see the below screen appear.
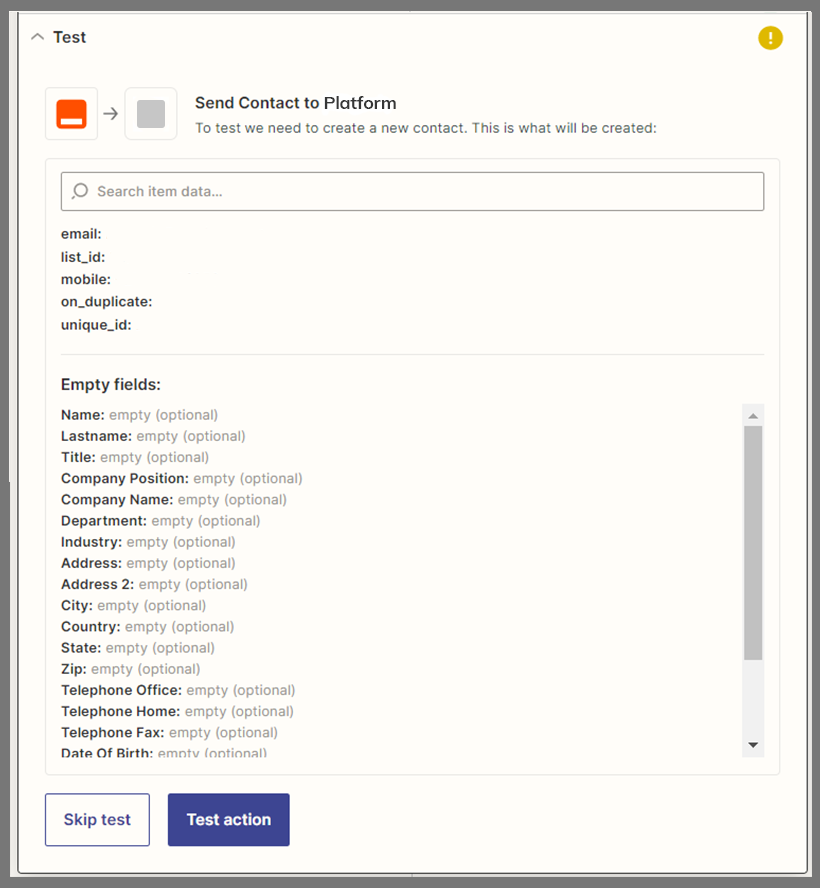
As an added step, you can verify in our Platform whether your contact has been uploaded.
3. Finally, go back to Zapier and publish the Zap by clicking Publish Zap.

Transactional Email & SMS via Zapier
Important:
- If you intend to use our transactional email and/or SMS services as part of your Zapier workflows, then you’ll first have to request activation of these services on our platform.
- Our transactional email and SMS accounts are limited to one user per account. This means you’ll have to create multiple transactional accounts for multiple users.

