Overview
Our system enables larger organisations or software resellers to split their account by customer and department.
- Customer: The name of the main company account. These customers can be split into departments. Most clients will have one company, but resellers and agencies may have more.
- Department: These are smaller departments within a customer account. This can work for separate departments, franchises, or stores within one organisation. This also enables some communication elements to be standardised across departments.
My Customers
If you’re an administrator on a large company account, you can view your customer names and create new departments.
To do this, hover over your username in the top right of the screen and click on My Customers. This will show you a list of all your registered customers and the users associated with them.
Using the buttons in the action bar in the top-right of the screen, you can edit, create, and delete any of these customers and departments.
How to Add a New User
If you’re an administrator, you can add a new user by:
- Hovering over your username in the top right of the screen and clicking on My Customers.
- Checking the checkbox of the customer you’d like to create a user for and clicking New > User. This will open a tabbed data-collection section in the right-hand viewing pane.
- Properties: The basic details for the new user
- Settings: Language, bounce processing, and message disclaimers
- Access Rights: Control what parts of our platform the user can access
How to Add a Department
If you’re an administrator, you can add a new department by:
- Hovering over your username in the top right of the screen and clicking on My Customers.
- Checking the checkbox of the customer you’d like to create a department for and clicking New > Department. This will open a tabbed data-collection section in the right-hand viewing pane.
- Filling in the details for each of these tabs:
- Properties: The basic details for the new department
- Branding: Colours, logo, and other branding elements for the department
- Settings: Settings for footers, images, attachments, and more
- Security: Basic security and IP locking settings
- Contacts: Control what happens with and what can be seen by contacts in this department
How to Add a Customer
If you’ve got super admin rights, you can add a new customer by:
- Hovering over your username in the top right of the screen and clicking on My Customers.
- In the top-right action bar, clicking New > Customer. This will open a tabbed data-collection section in the right-hand viewing pane.
- Filling in the details for each of these tabs:
- Properties: The basic details for the new department
- Branding: Colours, logo, and other branding elements for the department
- Quotas: Control the customer’s allocated quota and package details
- Settings: Settings for footers, images, attachments, and more
- Security: Basic security and IP locking settings
- Contacts: Control what happens with and what can be seen by contacts in this department
Setting Password Expiries for Enterprises
To set a password expiry for an Enterprise, do the following:
- Navigate to your Enterprise Profile.
- Select an Enterprise from the list by clicking the checkbox next to it.
- Click on Edit (with the pencil icon) on the top right of the dashboard.
- From the menu options, select
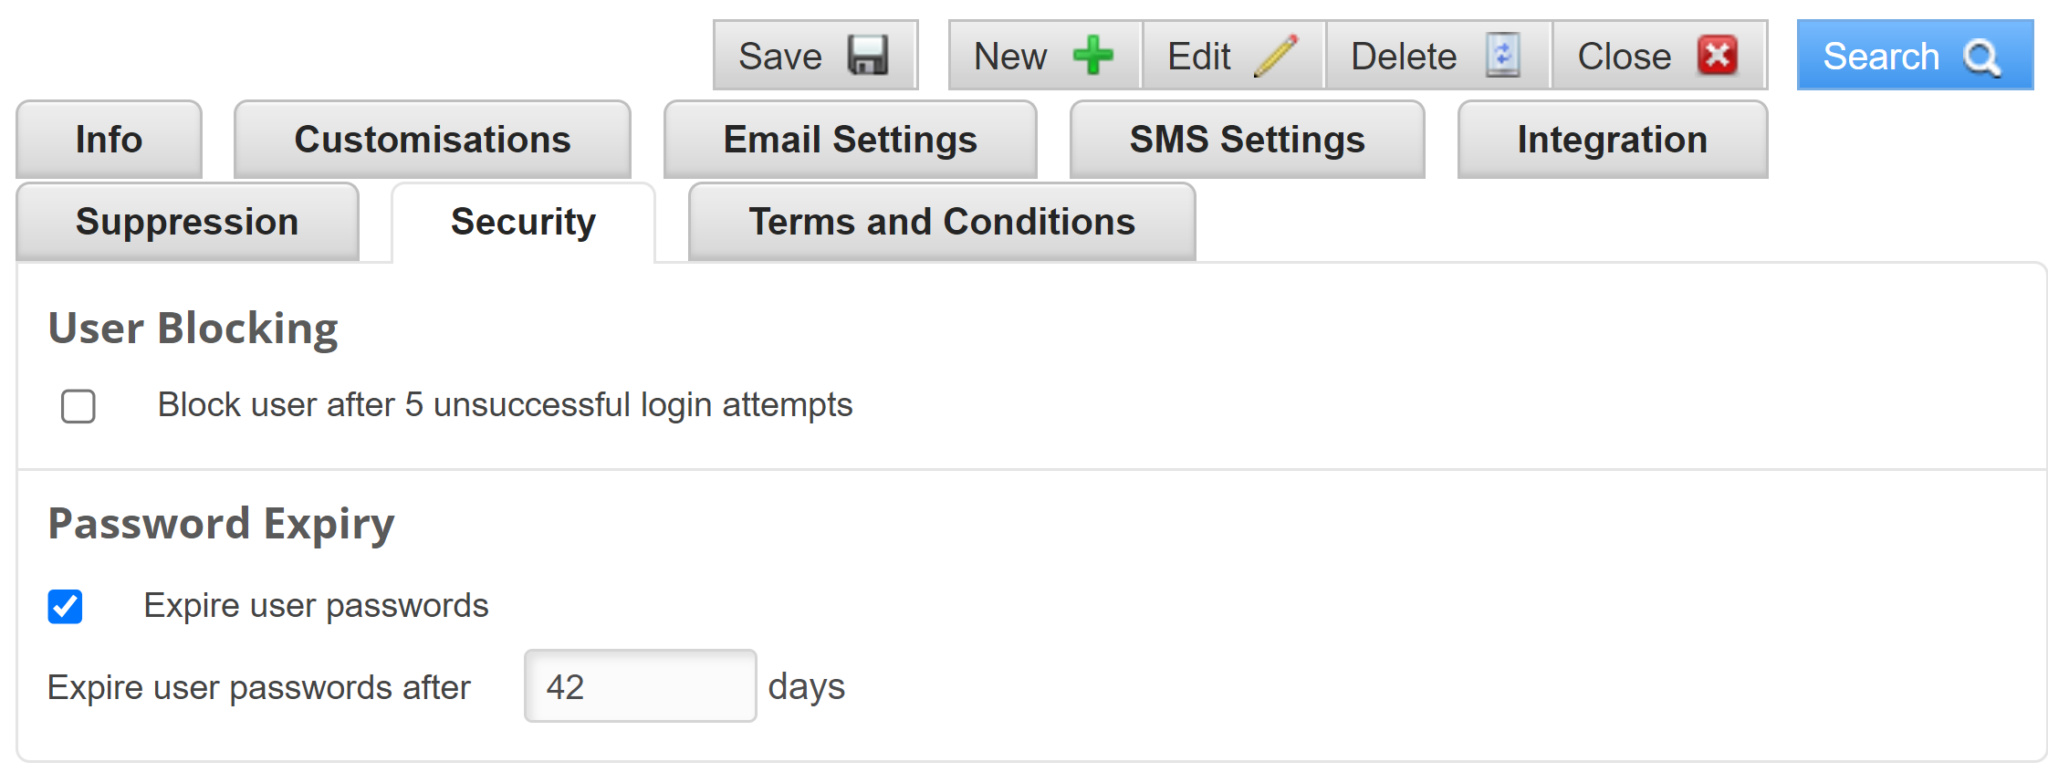
- Scroll down to Password Expiry and click the checkbox labelled Expire user passwords.
- Set the number of days after which the user’s password will expire.


