Overview
We’re in the process of updating our transactional email interface so it’s faster, more user-friendly, and has more advanced features. If you’re using the beta version, please use these instructions. If you’re still using the legacy transactional email functionality and would like to migrate to the new one, chat to Support.
Let’s Get Started
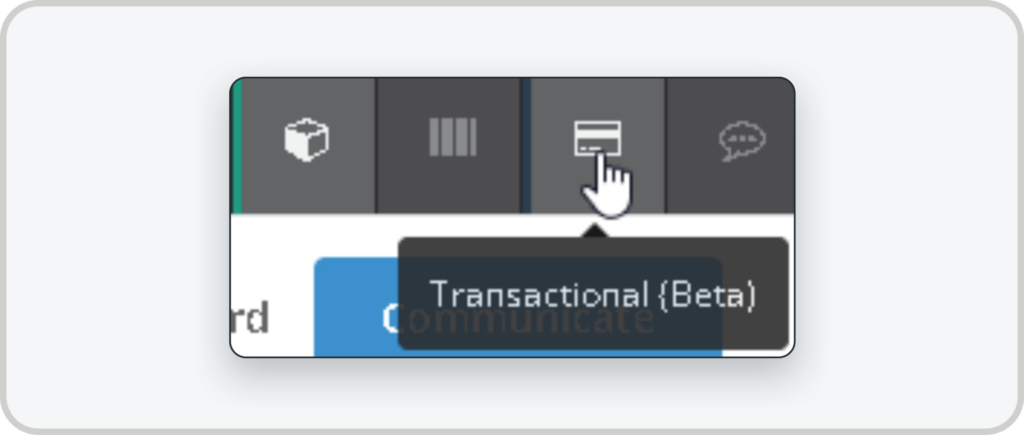
To get to the transactional email platform, click the Transactional (Beta) icon in the top right corner of the screen. This will only be visible if it’s part of your package. Before you start sending transactional email, you’ll need to do two important things on the first screen you see:
- Add and verify your domain
- Configure your transactional email using our API
Add and Verify Domain
- Click Add Domain.
- Enter your domain name. This should be the domain that your email communications are sent from (e.g.: domainname.co.za or domainname.com).
- Specify the email address you’d like to send the verification email to.
- Click Send Verification Email.
To get your API key or SMTP settings, select the one you want to use. This will display the relevant credentials for you to use. You can easily copy these settings using the copy button and plug them into your app’s settings.
If you’re setting up by API, you can also easily navigate to our API documentation using the Go to documentation button.
Configure Using API or SMTP
To get your API key or SMTP settings, select the one you want to use. This will display the relevant credentials for you to use. You can easily copy these settings using the copy button and plug them into your app’s settings.
If you’re setting up by API, you can also easily navigate to our API documentation using the Go to documentation button.
Transactional Email Dashboard
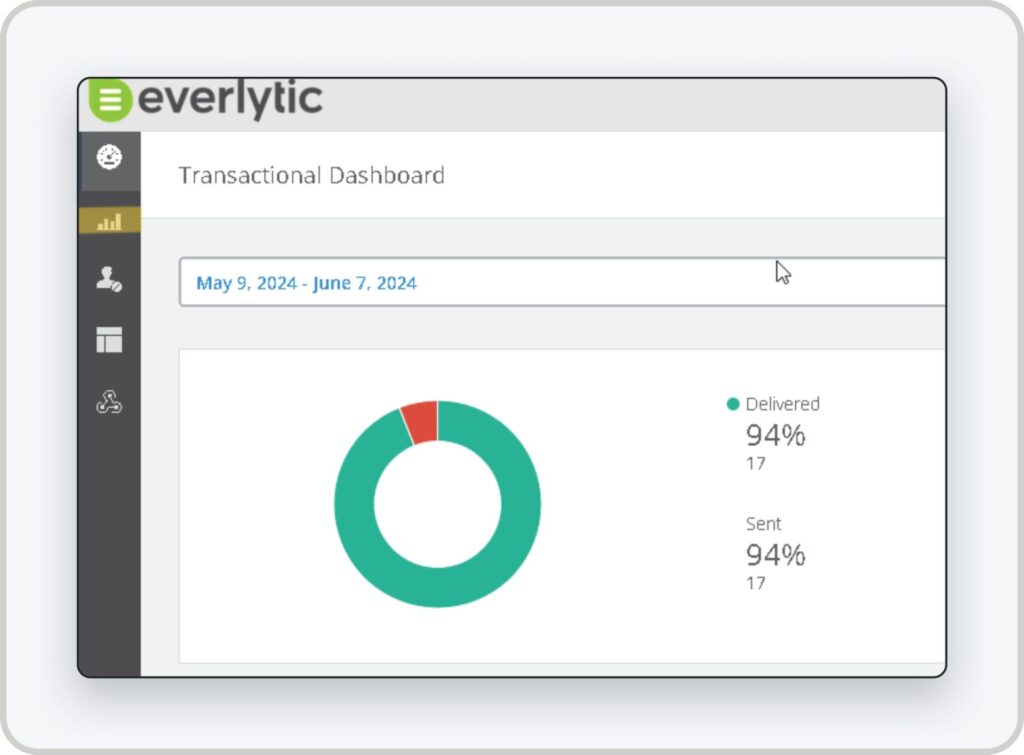
Once your domain and API settings are up and running and you’ve sent some transactional emails, you’ll see the dashboard when you log in. Here, you can view overview stats, including:
- Delivery stats: Numbers and percentages of messages sent, delivered, bounced, failed, and overall transactions.
- Transaction groups: Your top 3 transaction groups.
- Opens & inferred opens: The number and percentage of messages that were opened and top opened transactional groups.
- Top opened emails: The emails that get opened most.
- Clicks: The number and percentage of emails that were clicked on, as well as the top clicked email groups.
- Top clicked emails: The emails that receive the most clicks on links within the emails.
- Top clicked links: The links that get the most clicks in your emails.
- Latest sent transactions: A list of all the latest transactions that have been sent, including:
- Date and time sent
- Recipient email address
- Email subject
- Delivery status
- Transactional group
- Opened status
- Number of clicks
Transactions
To view a detailed list of your transactions, click on the transactions icon in the left-hand navigation. On this tab, you can view your transactions by transaction group or by your recipients.
Groups
This is the view you’ll see by default on the transactions tab. It shows you a list of stats relating to your transaction groups, including:
- Transaction group name
- The last send date
- Stats on:
- Requests
- Sent
- Failed
- Delivered
- Bounced
- Opened
- Clicked
You can also click on the Detailed Report link to see in-depth stats about that specific transaction group.
Group Detailed Reports
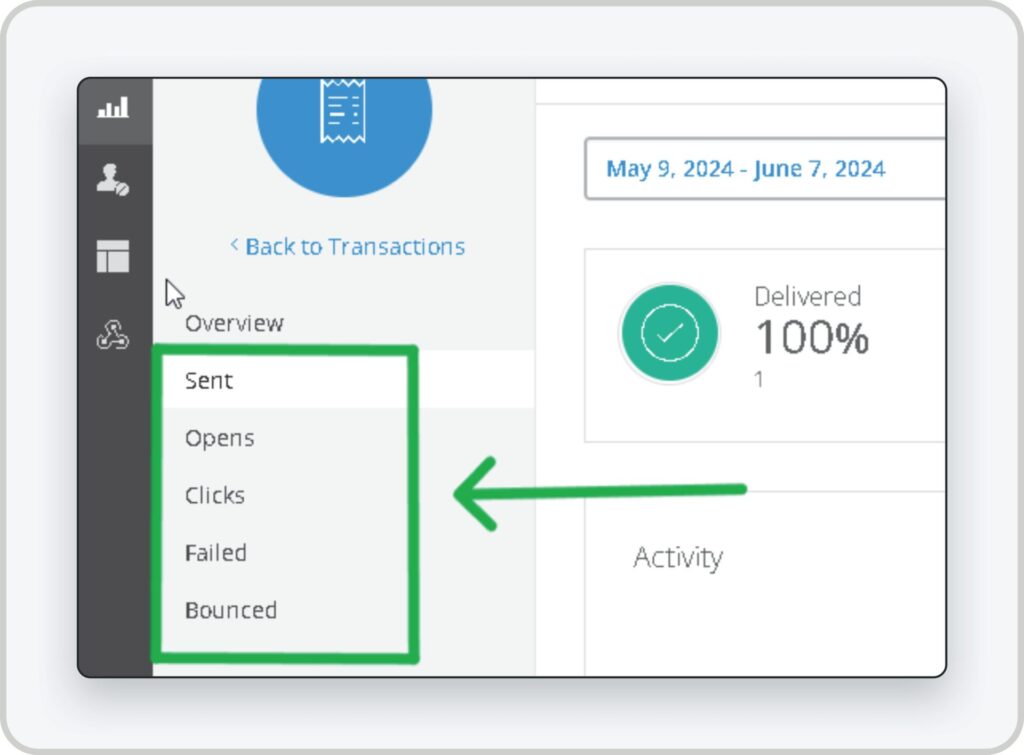
Group detailed reports offer you a variety of ways to analyse, view, filter, and export your group data. Toggle between the tabs on the left to view:
- Overview stats
- Sent transactions
- Opened transactions
- Clicked transactions
- Failed transactions
- Bounced transactions
When you’re finished viewing detailed stats, click the Back to Transactions button to go back to the Transactions page.
Recipients
On the recipients tab, you’ll see a list of transactions sent to each recipient. Use the tools above the list to filter by:
- Date range
- Recipient email or transaction ID
- Messages sent, failed, or delivered
In the list below, you’ll see the following data per recipient:
- Date sent
- Recipients
- Subject
- Status
- Group
- Opened
- Clicked
Download CSV File Exports
You can now download CSV file exports as a new transactional email user for Transactional Email Reports. The feature is available for all report types except Overview.
Step 1: Go to the Transactional Groups page.
- Click on the Transactional (Beta) button to redirect to new transactional email (Neutron).

Step 2: Go to the Detailed Report tab.
- The tab highlighted in yellow is the Group Reports page.

- Once on the Group Reports page, you can find the Detailed Report button per group on the right of each row.

Step 3: Click on any Report Type tab on the left (excluding Overview).
- It will show the Export button on the top right corner of the screen.
- The tabs outlined in green are the tabs available for export.

- The Export button is located on the top right of the screen when on a tab that allows exports.

Step 4: Click on the button to generate a CSV report, based on the data shown on the current page.
- This is an example of a successfully generated export:

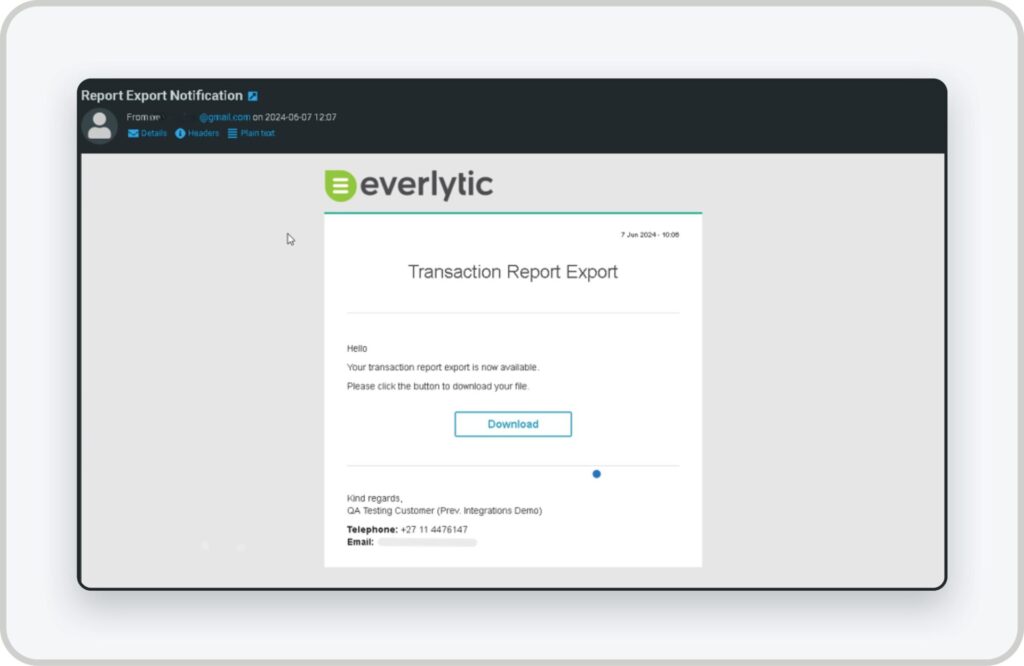
Step 5: Once the CSV file has successfully generated on the backend, it will send an email to the user who initiated the download.
- Here is an example of how the email subject line will appear:

- Here is an example of how the Download Email screen will look:

- The link in the email will take the user to a download page where you will see your filename and be able to download your CSV file.
- This is an example of the download page with a successful download:

Suppression List
The suppression list shows you a list of recipients that are no longer being sent to, either because they unsubscribed, bounced, or they were switched off. You can filter this list using the User, Bounce, or Unsubscribe buttons on the right, or by the recipient’s email address or the transaction ID using the textbox.
You can also add or remove recipients from this list using the plus and trash icons in the top left. To remove recipients, check the checkboxes of the recipients you’d like to remove and click the trash icon.
Templates
On this tab, you’ll see the transactional email templates available to you. Click on the one you’re interested in and the viewing pane on the right will show you:
- When the template was created
- The template ID
You can also edit the template from here or re-create it using the buttons. Additionally, you can search for a specific template using the text box or delete templates by checking the checkboxes of the templates you’d like to delete and clicking the trash icon.
How to Create a Transactional Email Template
- Click Create new template
- Select the template you’d like to use as a base
- Update the name of the template and the standard email properties for the template, including:
- The from sender name and email address
- The reply-to email address (if it’s different to the sender email address)
- The email subject
- A description of the template
- Insert the HTML code for the template
If you’d like to keep your template in draft mode and complete it at another time, click Save. Otherwise, if you’re finished and the template is ready to use, click Publish.
Using Tracked Attachments in Transactional Email
The Tracked Attachments feature converts an email attachment to a download link, enabling you to host the attachment in the cloud rather than directly on the email. This feature cancels out most drawbacks associated with attachments, including slower email sending at scale or having your legitimate emails sent to the bin by spam filters. Tracked Attachments is especially useful when sending business-critical messaging like account statements, invoices, and payslips.
1. Tracked Attachments as a Default Setting
Upon request, our Support team can set tracked attachments as a default on your transactional emails. This means that all attachments you send via transactional email will be converted to tracked attachments.
Alternatively, a file size limit can be set on your account. If, for example this limit is set to 5MB, any attachments bigger than this will be converted into a tracked attachment. Please note that you can override these default settings via a customised API call (see below).
2. Customising Tracked Attachments via API
You can activate or deactivate tracked attachments via an API call (see more info here). Under attachments in the API code, you’ll find additional options. Change the track value to “true” to activate tracked attachments, and “false” to switch it off.

