Overview
Autoresponders are emails created to function as an automatic response (like automatic welcome emails when someone subscribes to your newsletter). The email will only send once a specific action is taken by a contact. This action is set up via triggers.
For simplicity, Workflows combines these into one – if you’re new to our platform, we recommend you use that instead.
How to Create an Autoresponder
To create an Autoresponder, go to:
- Go to: Campaigns (the paper jet icon in the left-hand navigation on the system dashboard) > Create Campaign.
- Click on the blue Autoresponder icon.
- The next few steps are the same as creating an email. This includes:
- Composition Options: Choosing the method you’d like to use to compose your email. If you’re new to our platform, we recommend the (drag-and-drop) Builder.
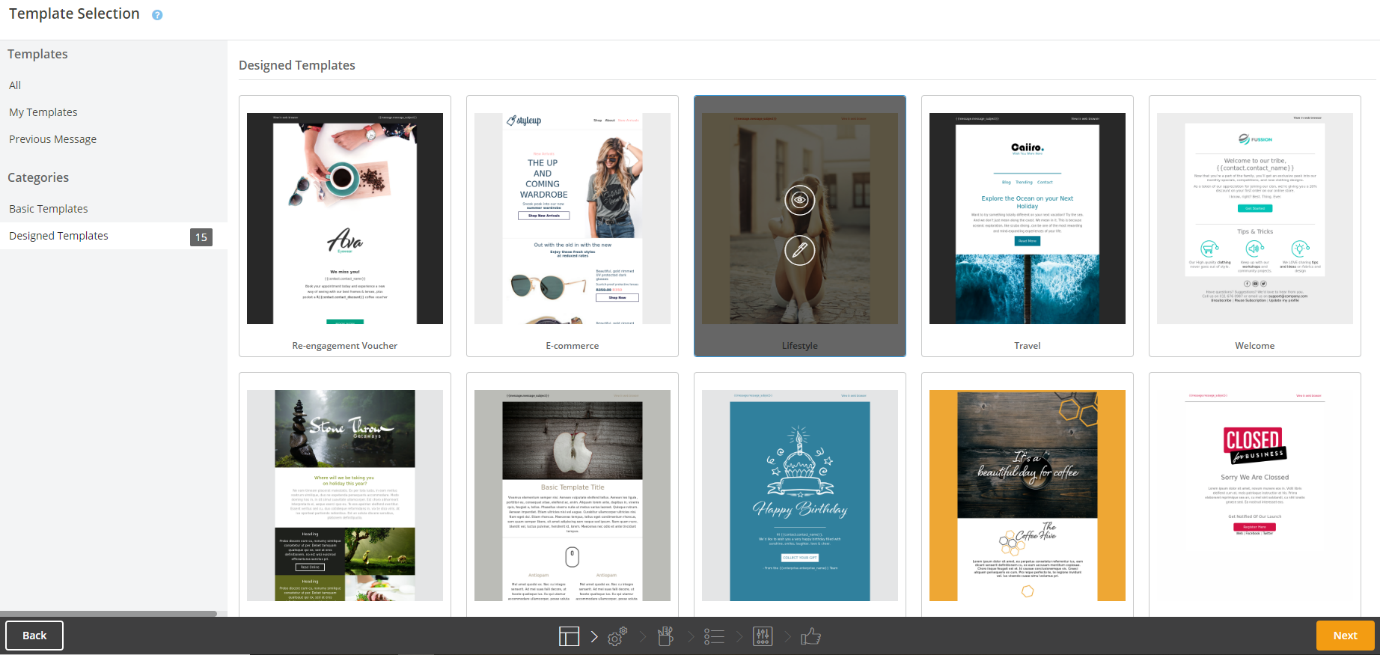
- Template Selection: Select the email template that you’d like to use for your autoresponder.

-
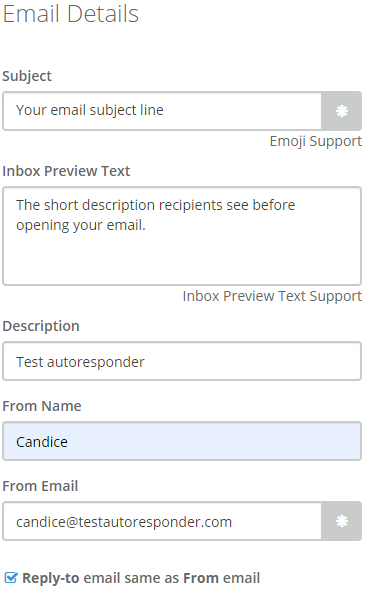
- Message Properties: Add in your message properties, including your email subject line and preview text, a description of the autoresponder (recipients won’t see this), the name of the person or organisation the email will be from (recipients will see this), and the from email address.

-
- Build Your Email: Use our drag-and-drop functionality (or the functionality of the composition method you chose) to create the look and message of the email.
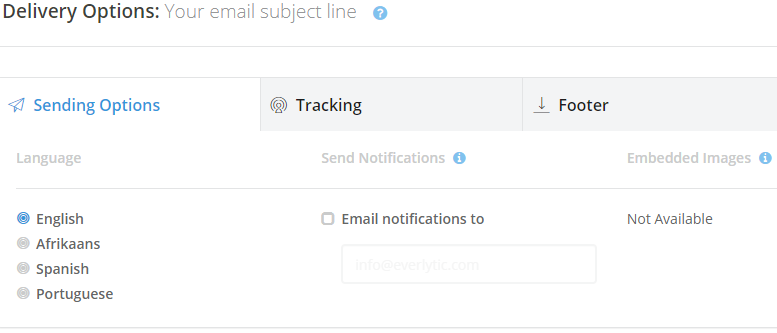
- Delivery Options: Toggle through the delivery options tabs to set things like the language of your email, Google Analytics tracking, and the type of email footer you’d like.

-
- Confirmation: Review your autoresponder email settings.
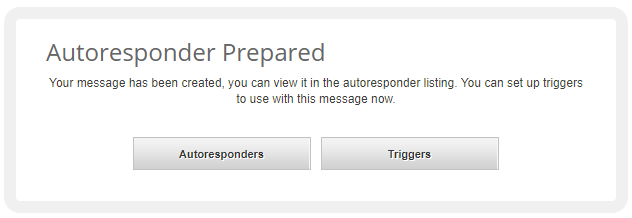
- If you’re happy with your autoresponder, click Confirm. On the next Autoresponder Confirmation page, you’ll be able to navigate back to the Autoresponder dashboard or on to Triggers.

Autoresponder Dashboard
To get to the autoresponder dashboard, go to Campaigns (the paper jet icon in the left-hand navigation on the system dashboard) > Autoresponders.
On this dashboard, you can:
- Search for the autoresponder you want to view using the search bar
- Edit an autoresponder by checking the checkbox of the one you want to edit and clicking the pen icon above the right-hand viewing pane.
- View Reports for autoresponders by clicking on the name of the one you want a report for and clicking on the Detailed Report icon above the right-hand viewing pane.
Autoresponder Reports
The autoresponder reports are just like email reports. The buttons on the top left of the screen allow you to:
- Preview your autoresponder email
- Re-create your autoresponder
- Create a Template out of your autoresponder so you can use it multiple times in the future
- Share your autoresponder report with others
- Print your autoresponder report
You can also toggle between the tabs on the left hand side:
- Overview: A summary of the number of opens, clicks, social shares, unsubscribes, and bounces on your autoresponder, as well as the click-to-open rate, list interaction, and the city in which most of your readers are located.
- Recipients: All the recipients who opened the message, including their name, email address, what actions they took, the first open date, and the last open date. Toggle between the top tabs to view the recipients by action.
- Content: Shows you a heatmap of the interaction on your email and lists the links that received the most clicks.
- Platforms: Which email clients and devices your contacts used to view your autoresponder.
- Geo: A map view of where in the world the recipients are who opened and clicked on your autoresponder.
- Properties: The properties of your autoresponder, like from name and address, number of recipients, message size, lists, tracking, footer, social links, etc.
- Bounce SMS: Shows the recipients who received an SMS to update their subscription details when their email bounced. Read more here.

