Overview
A/B Split Tests enable you to send two slightly different versions of the same email to a sample of your contacts to test which email gets a higher click- or open-rate. After a predetermined time, the better-performing email is automatically sent to the rest of your database.
How to Create an A/B Split Test
To create an A/B split test, go to:
- Go to: Campaigns (the paper jet icon in the left-hand navigation on the system dashboard) > Create Campaign.
- Click on the turquoise A/B Testing icon.
Tip: If you’re testing content, save your A and B emails as templates before composing your A/B test. This will speed up the composition process significantly.
- Fill in the test properties, including the name of the test (this won’t be seen by recipients), the from name (the name that the recipients will see these emails are from), and the from email address.
By default, the ‘Reply-to’ email address is the same as the ‘From’ address. If you want to use a different address for contacts to reply to, check the box below ‘From email’ and enter the required reply address in the field provided.
- Select the contact lists you’d like to send this test to. You can do this by searching using the search bar and the list groups drop-down, and by selecting the checkbox of the list you want. Add filters to this list by clicking the blue Apply Filters button in the top-right corner of the screen.
- On the A/B Split Test Set Up page:
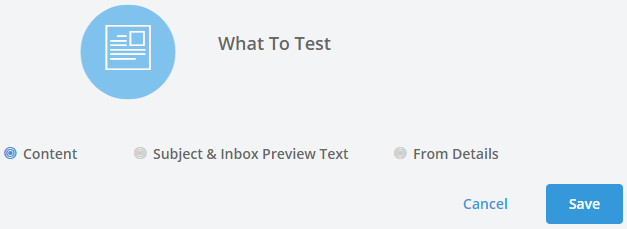
- Click on the blue What to Test box and specify which of the following you’d like to test and click save:
- Content (this is checked by default)
- Subject & Inbox Preview Text
- From Details
- Click on the blue What to Test box and specify which of the following you’d like to test and click save:
-
- The rest of the A/B test setup will adapt based on the testing option you choose in step A, providing you with two options for whatever element you’re testing.
- Complete the rest of the following A/B testing elements, providing two options for the element you’re testing:
- Specify your email subject line and the preview text. You can personalise these by clicking on the little person icon to the right of each text box.
- Confirm your from name and email address.
- Specify the email/s you’d like to A/B test by clicking the Compose This will take you through some of the email composition process. If you’ve saved or uploaded this / these emails as templates before starting, it’ll be much quicker. Click the ‘add to test’ button.
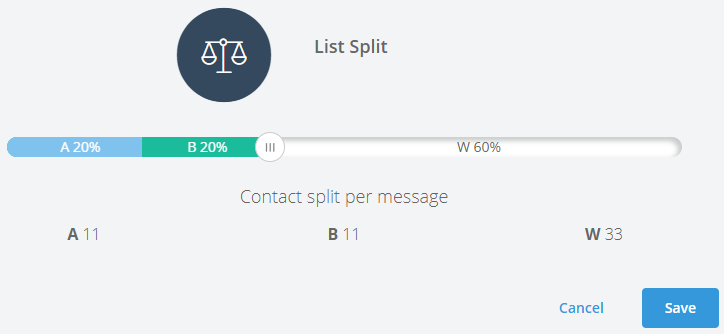
- Once you’ve completed your A/B test elements, click on the dark List Split rectangle and use the slider to specify the percentage of your list that you’d like to send mailer A, mailer B, and the test Winner mail to.
-
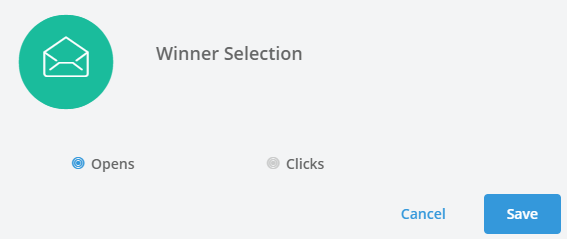
- Click on the green Winner Selection rectangle to select whether you want the winner email to be determined by the number of opens or clicks it receives.
-
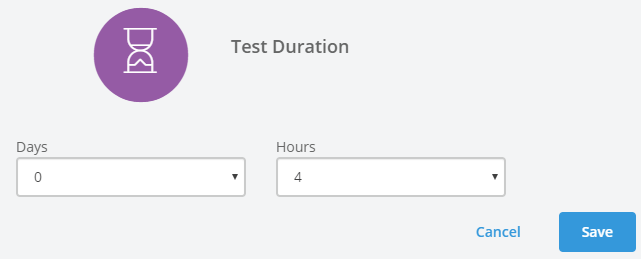
- Click on the purple Test Duration rectangle to specify how long you’d like to run the test before the system automatically sends the winning email. The minimum test duration is 4 hours.
Tip: Make sure that the time the winner email goes out is an effective date / time for your recipients to receive your email.
- Click Next.
- On the Delivery Options page, there are four tabs:
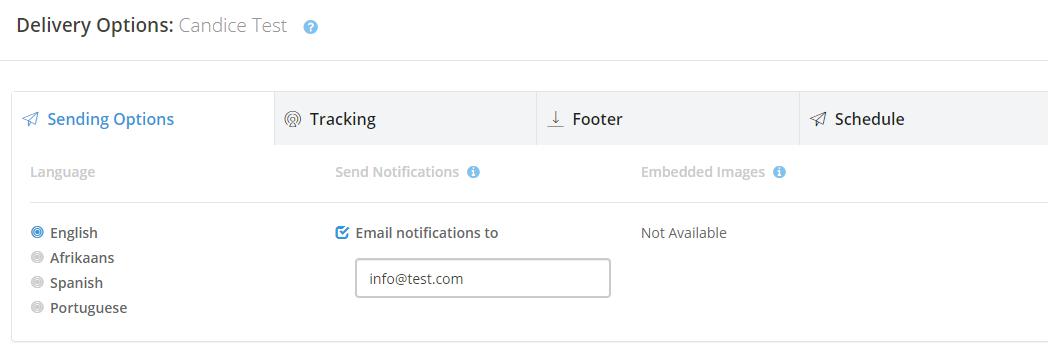
- Sending Options: Select your email language for your footer, and specify if you’d like to send email notifications regarding the A/B test to a specific email address.
- Tracking: Track your emails with Google Analytics, specifying an email subject line (default: the A/B test email subject line) and a medium tag (default: email).
- Footer: Confirm the type of email footer you’d like on your emails and which sharing links you’d like included.
- Schedule: Schedule a date and time to start your A/B test.
- Click Next.
- Review your A/B test settings on the Confirmation page.
- If you’re comfortable with the settings, click Send.
A/B Split Test Dashboard
To view your A/B Split Test Dashboard:
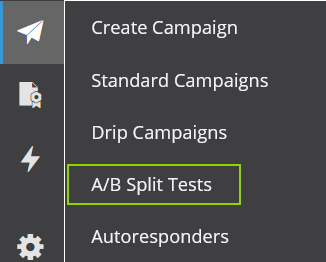
- Go to: Campaigns (the paper jet icon in the left-hand navigation on the system dashboard) > A/B Split Tests.
- On this dashboard, you can:
- Search for the A/B tests you want to view using the search bar
- Edit an unsent A/B test by checking the checkbox of the A/B test you want to edit and clicking the blue pencil icon above the right-hand viewing pane
- View Reports for past A/B tests by checking the checkbox of the A/B test you want a report for and clicking on the Detailed Report icon above the right-hand viewing pane
Filter your A/B split test view by their sending stage by toggling between the Saved, Scheduled, Testing, and Concluded tabs in the left-hand navigation.
A/B Split Test Reports
Once you’re a/B test is complete, you can view a detailed report on the results.
To get this:
- Go to: Campaigns (the paper jet icon in the left-hand navigation on the system dashboard) > A/B Split Tests.
- Click on the name of the A/B split test you want a report for and click on the Detailed Report icon above the right-hand viewing pane.
- On the report page, you can toggle between the following five reporting screens in the left-hand navigation:
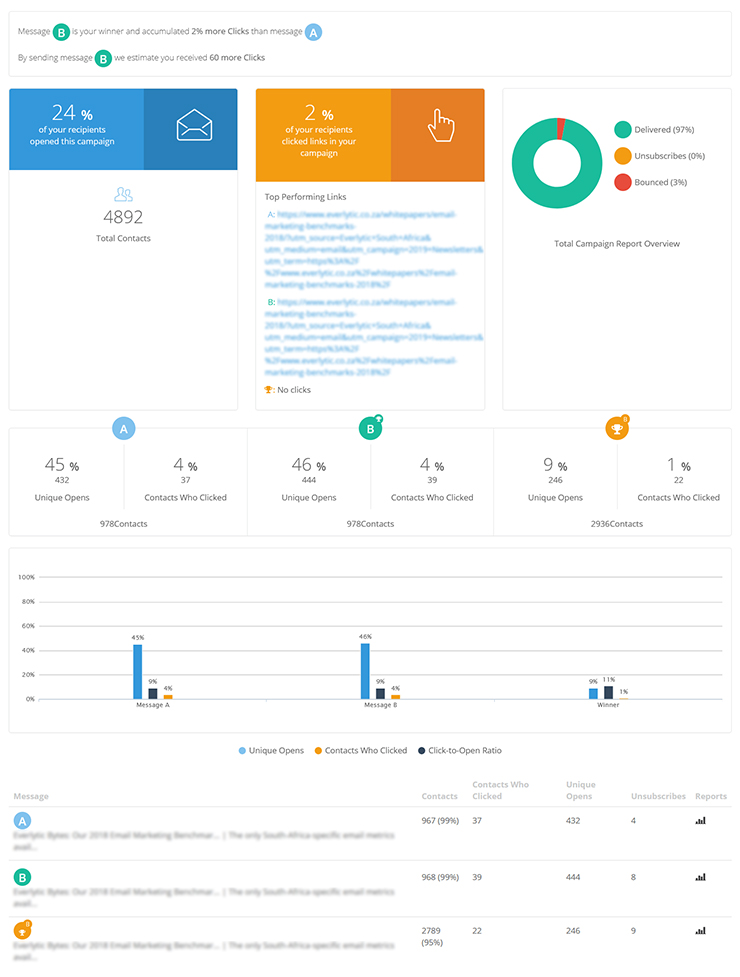
- Campaign Overview: Which message won, by what percentage of clicks or opens, and an overview of overall delivery, click, and open stats.
-
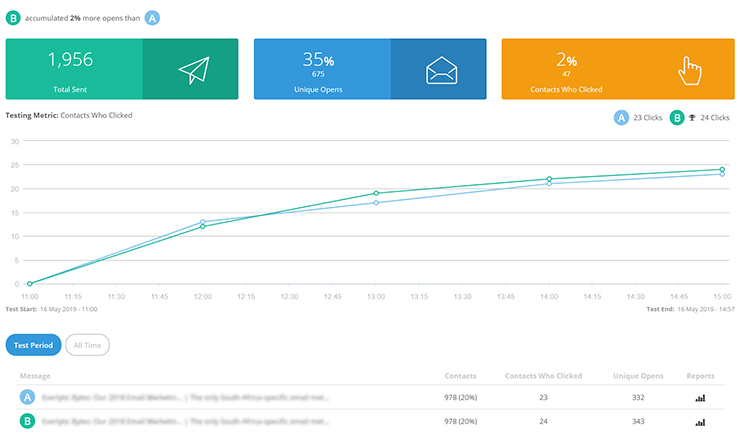
- Test Overview: Number of clicks and opens over the test period and over all time, as well as the number of emails sent. You can also view detailed reports for the individual messages from this tab.
-
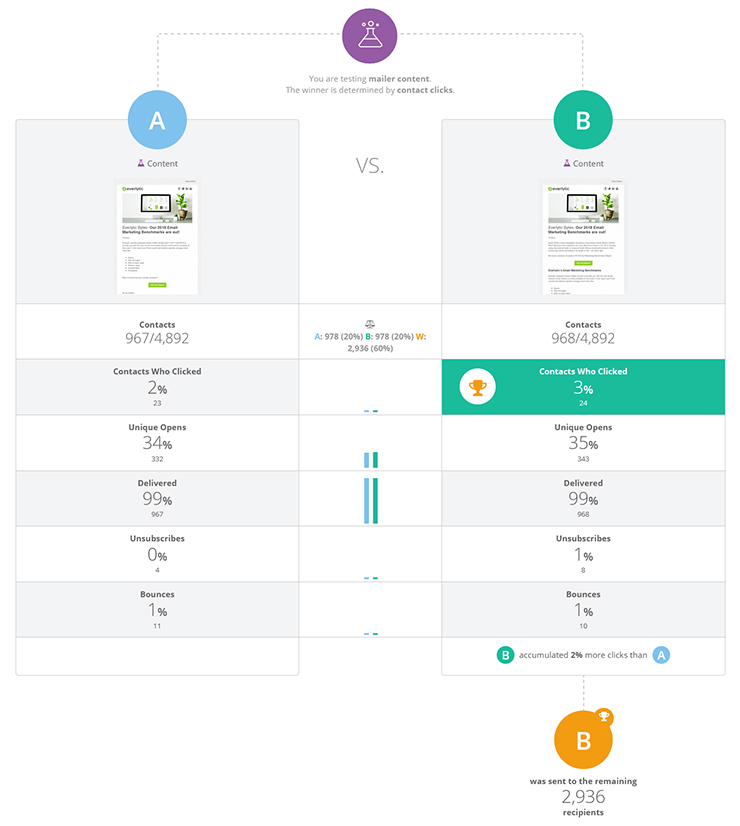
- Test Comparison: A side-by-side view of each message and their test stats.
-
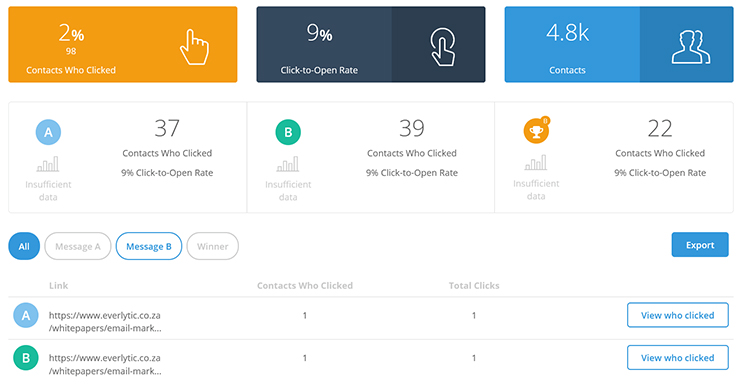
- Clicks: The percentage of unique clicks, click-to-open rates, number of recipients who received both messages, and a breakdown of which contacts clicked on which links. You can also toggle between views of the overall click stats, those of message A or message B, or just the winning message.A side-by-side view of each message and their test stats.
-
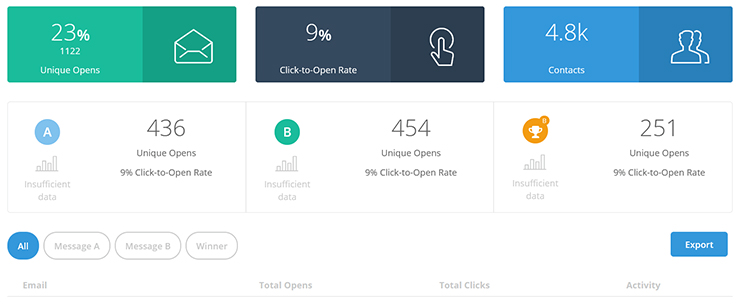
- Opens: The percentage of unique opens, click-to-open rates, number of recipients who received both messages, and a breakdown of which contacts opened each email. You can also toggle between views of the overall open stats, those of message A or message B, or just the winning message.
Individual message reports follow the standard email reporting. To get reports on individual emails, click here.

